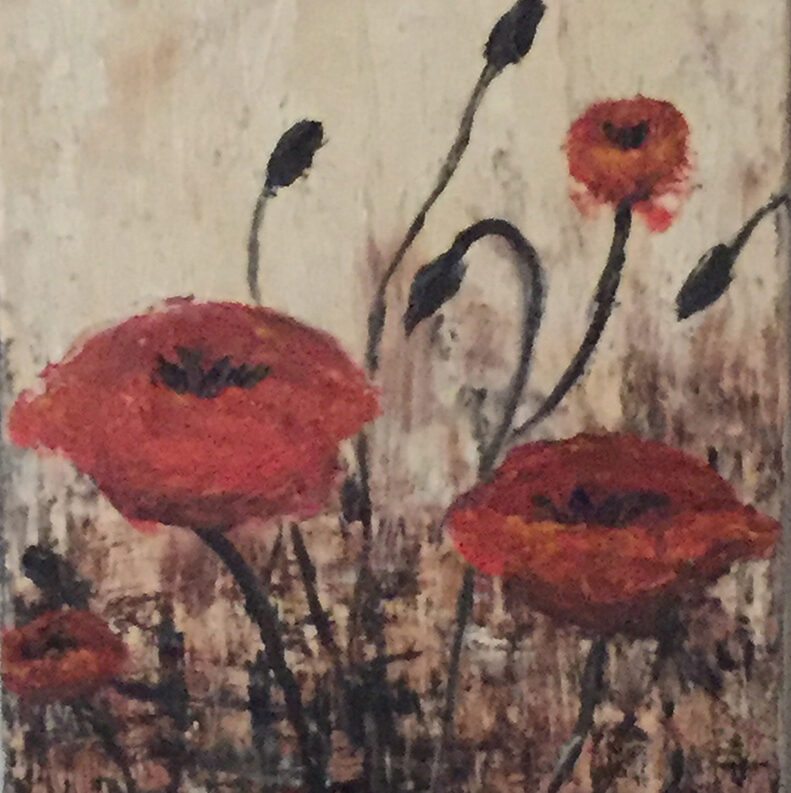
Creating a picture gallery wall is a fantastic way to personalize your space and showcase your favorite artwork, photographs, and mementos. However, when dealing with a small space, the challenge lies in arranging these items to maximize vertical space without making the room feel cluttered or overwhelming. In this article, I’ll show you creative ways to incorporate art into existing decor with a picture gallery wall in a small space, with visual examples to inspire your next decorating project.
1. Symmetrical Grid Layout
A symmetrical grid layout is a classic and straightforward way to arrange a picture gallery wall. This design emphasizes balance and order, making it perfect for small spaces where a sense of calm and organization is desired.
How to Achieve It:
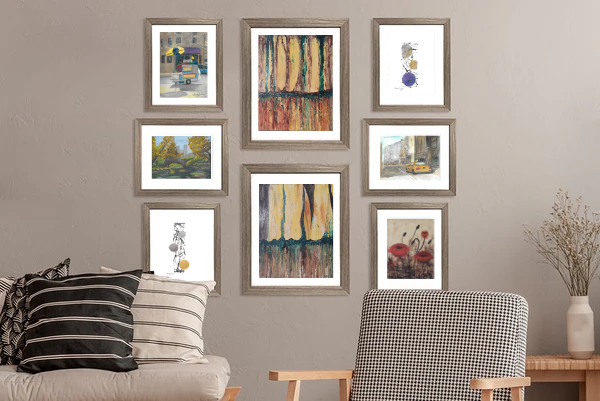
Step 1: Measure the wall space, make sure to take into account any wall moldings or other decorative elements that you must work around.
Step 2: Select frames of the same size and shape. Square or rectangular frames work best for this layout.
Step 3: Determine the spacing between each frame. A 2-3 inches distance is ideal for maintaining a clean look.
Step 4: Use a level and a measuring tape to ensure that each frame is perfectly aligned vertically and horizontally.
Step 5: Start by hanging the center frame and work outward, ensuring the spacing remains consistent.
Benefits:
Balanced Aesthetic: The uniformity in frame size and spacing creates a visually pleasing and balanced arrangement.
Ease of Assembly: This method is relatively easy to execute, especially if you have a collection of similar-sized frames.
Testing
2. Eclectic Mix & Match
The eclectic mix-and-match layout is ideal for those who love a more dynamic and personalized approach. This method allows for a variety of frames in different sizes, shapes, and colors, creating a vibrant and unique gallery wall that reflects your personality.
How to Achieve It:
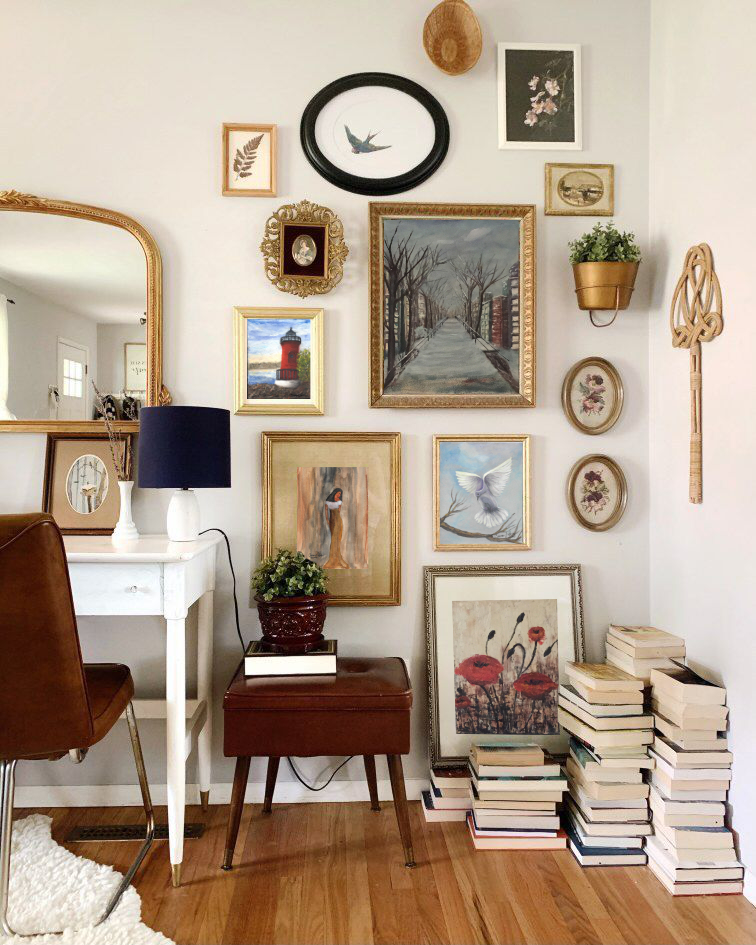
Step 1: Gather a collection of frames in different sizes, shapes, and finishes. Mixing wood, metal, and plastic can add texture and interest.
Step 2: Layout your frames on the floor before hanging them to experiment with different arrangements. Start with the largest frame as the focal point and build around it.
Step 3: Asymmetry is key in this layout. Don’t worry about equal spacing; instead, focus on how the pieces interact with one another and the space around them.
Step 4:: Incorporate other elements such as mirrors, clocks, or small shelves to add depth and dimension.
Benefits:
Personalized Touch: This layout allows for a highly personalized display, perfect for showcasing a wide range of artwork and items.
Creative Freedom: You have the freedom to experiment with different shapes, sizes, and colors, making it a fun and creative process.
Visual Interest: The varied arrangement naturally draws the eye, making it an engaging focal point in any room.
Love the artwork? Buy high-quality prints here!
3. Vertical Column Layout
When space is limited, especially in narrow areas like next to doorways or narrow hallways, a vertical column layout can be a space-saving solution that still packs a visual punch. This arrangement uses height rather than width, which is particularly useful in small spaces.
How to Achieve It:
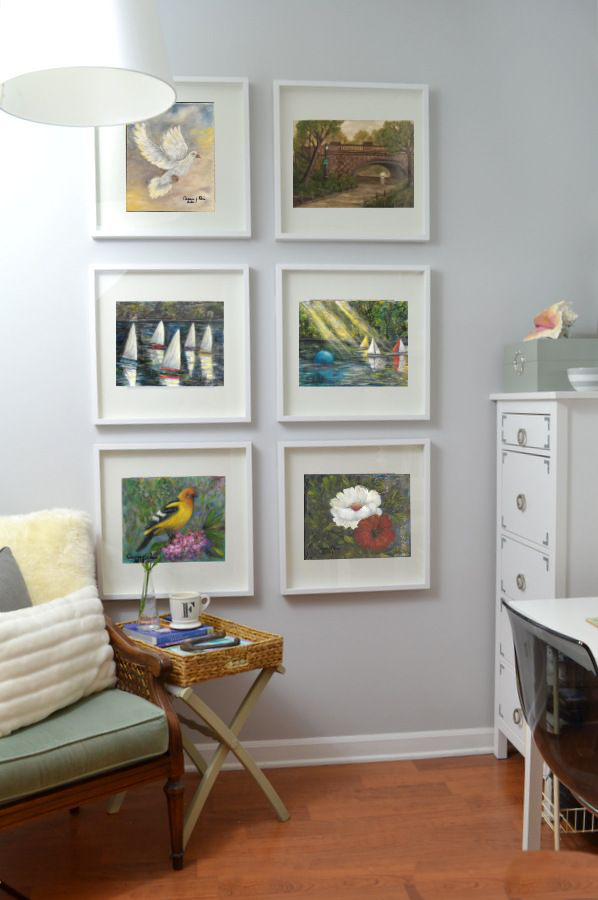
Step 1: Choose frames that are either uniform in size or vary slightly to maintain visual coherence. Tall, narrow frames work best for this layout.
Step 2: Arrange the frames in a vertical line, starting at eye level and extending upwards. The spacing can be tight to create a continuous flow.
Step 3: Consider using this layout to highlight a specific theme or collection, such as family portraits or travel photos.
Step 4: Ensure the column aligns with other architectural elements, such as the edge of a doorway or a window, to create a harmonious look.
Benefits:
Space Efficiency: This layout is perfect for narrow walls or small spaces where horizontal space is at a premium.
Elongates the Room: The vertical arrangement draws the eye upward, creating the illusion of a taller, more spacious room.
Focused Display: This method focuses on a specific collection or theme, making it a meaningful and impactful display.
Testing
4. Gallery Shelf Display
If you prefer the flexibility to change your gallery wall frequently, opt for floating shelves they are the perfect solution. By using picture ledges or floating shelves, you can easily swap out artwork and rearrange your display without having to rehang frames.
How to Achieve It:
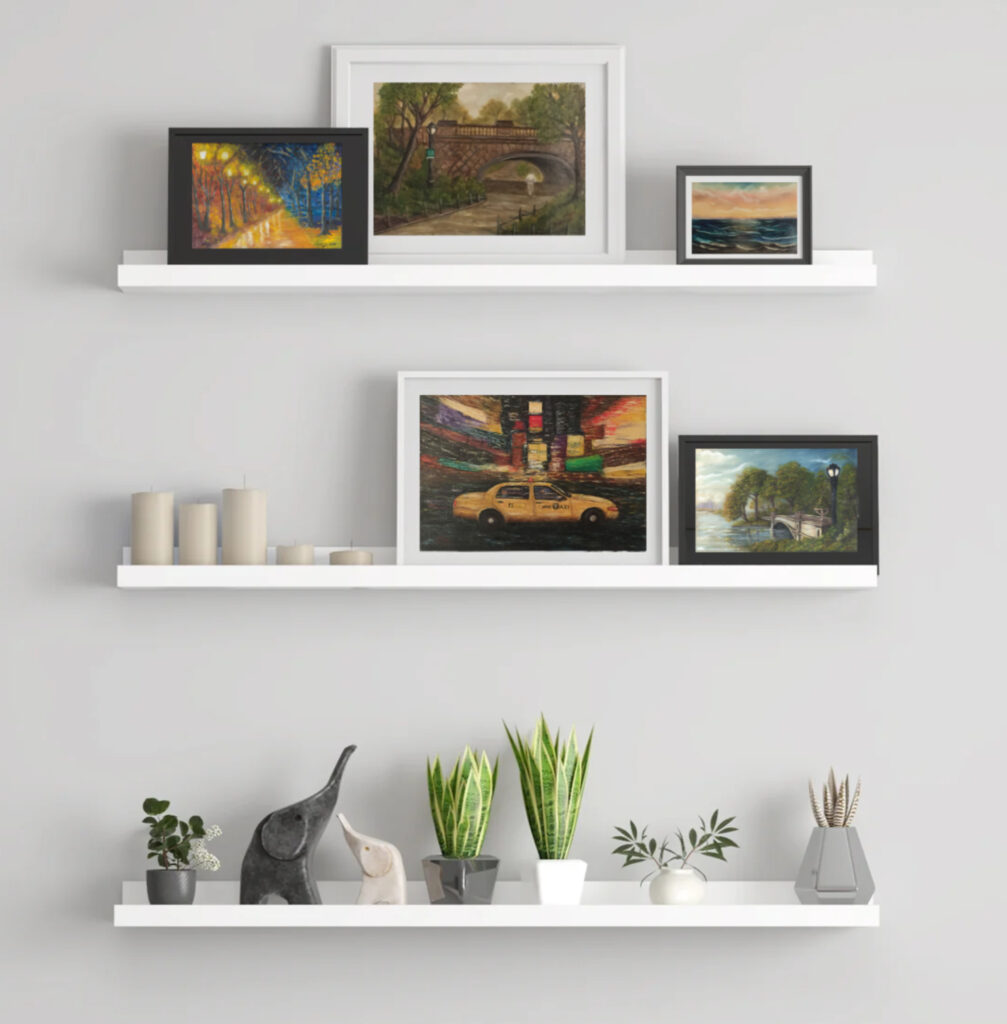
Step 1: Install one or more picture ledges or floating shelves on your wall. These shelves should be deep enough to accommodate frames but not so deep that they dominate the space.
Step 2: Arrange your frames on the shelves, overlapping them slightly for a casual, layered look. You can also mix in small decorative objects, books, or plants.
Step 3: Experiment with different heights and arrangements. Taller frames can be placed at the back, while smaller ones can be layered in front.
Step 4: Change the display as often as you like, adding seasonal artwork or new photos to keep the look fresh.
Benefits:
Flexibility: The ability to change the display frequently without the need to rehang frames is a major advantage.
Depth and Dimension: The use of shelves adds depth to the wall, creating a three-dimensional display that is visually engaging.
Multi-functional: Shelves can hold more than just frames, allowing you to incorporate other decorative elements into your gallery wall.
Testing
Love the artwork? Buy high-quality prints here!
5. Corner Gallery Wall
In small spaces, it’s important to make the most of every inch, including corners. A corner gallery wall is a unique and creative way to utilize two walls at once, creating a cozy and intimate display area.
How to Achieve It:
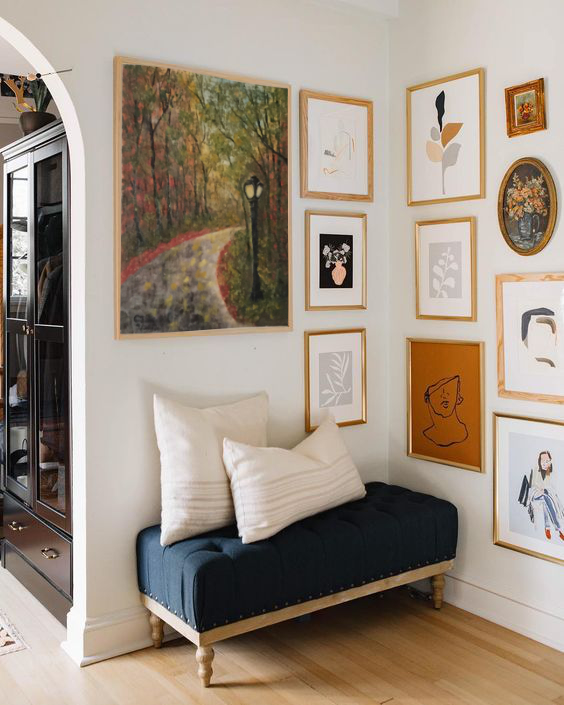
Step 1: Choose frames of various sizes and shapes. Consider using a mix of square, rectangular, and even circular frames for added interest.
Step 2:Start by placing a larger piece at the intersection of the two walls, anchoring the display. Build outwards from this point, alternating between the two walls.
Step 3:Maintain a loose symmetry by balancing the placement of frames on both walls. For example, if you place a large frame on the left wall, balance it with a smaller cluster on the right.
Step 4: Consider adding other elements such as hanging planters or small wall sculptures to enhance the corner display.
Benefits:
Maximizes Space: Utilizing corner space allows you to make the most of small rooms, adding visual interest where it’s least expected.
Creates Intimacy: The corner arrangement creates a cozy, enclosed feeling, perfect for spaces like reading nooks or dining areas.
Dynamic Display: Using two walls adds depth and dimension, making the gallery wall a dynamic focal point.
Testing
Conclusion
Creating a picture gallery wall in a small space is all about making the most of the available area while expressing your style. Whether you prefer the order of a symmetrical grid, the creativity of an eclectic mix, the efficiency of a vertical column, the flexibility of a gallery shelf, or the uniqueness of a corner gallery, there’s a layout that will work for your space.
By carefully considering the arrangement, you can create a cohesive gallery wall even the smallest wall into a captivating display that adds character and charm to your home. Remember, the key is to plan your layout carefully, experiment with different arrangements, and, above all, have fun creating a gallery wall you’ll love for years.
